3d hand anatomy is easiest to learn in layers: begin with colour-coded bones, add the flexor tendons, then move to a posable, rigged model only if animation is the goal. Each layer solves a different problem.
Picture opening a hand model and meeting a crowd of small bones, tendons and nerves with no obvious place to start. The fix is to separate the questions: what each structure is, how it sits among its neighbours, and what the model will be used for. This guide works through those problems in order, and it belongs to the wider 3D human anatomy model collection.
Problem: too many small bones to tell apart
A hand model is a crowd of small bones, and colour is the quickest way to sort them. One public hand-bone model on Sketchfab colour-codes the finger bones by type, which turns a confusing skeleton into a set of repeating units.
Fingers: phalanges and metacarpals
In that model, distal phalanges are pink, middle phalanges are blue, proximal phalanges are yellow and metacarpals are red. For a beginner, this is the right place to start. Learn the order of the colours along one finger, then check that every other finger repeats it. A model that colours every finger bone the same shade makes this pattern much harder to see, so prefer a coded model for first-pass study.
Wrist: carpal bones
The carpal bones are handled differently. The same model colours the carpals randomly so they can be told apart, and it shows the ulna and radius in blue. The practical lesson is that carpal colours carry no meaning. They separate one wrist bone from its neighbour, nothing more. Do not memorise a carpal by its colour, because another model will assign different colours. Memorise it by its shape and position relative to the forearm bones and the metacarpals.
Wrist bones are the part of the hand where model detail matters most, because they are small and sit tightly together. A radiograph is a useful cross-check against a model, since it shows how real bones overlap and where one ends and the next begins.
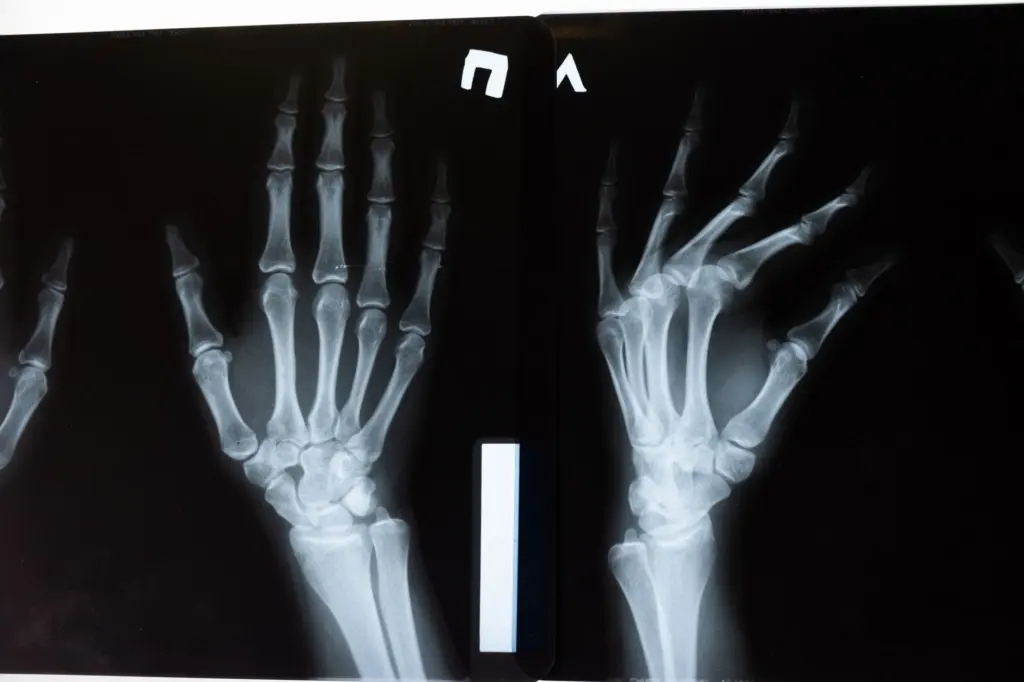
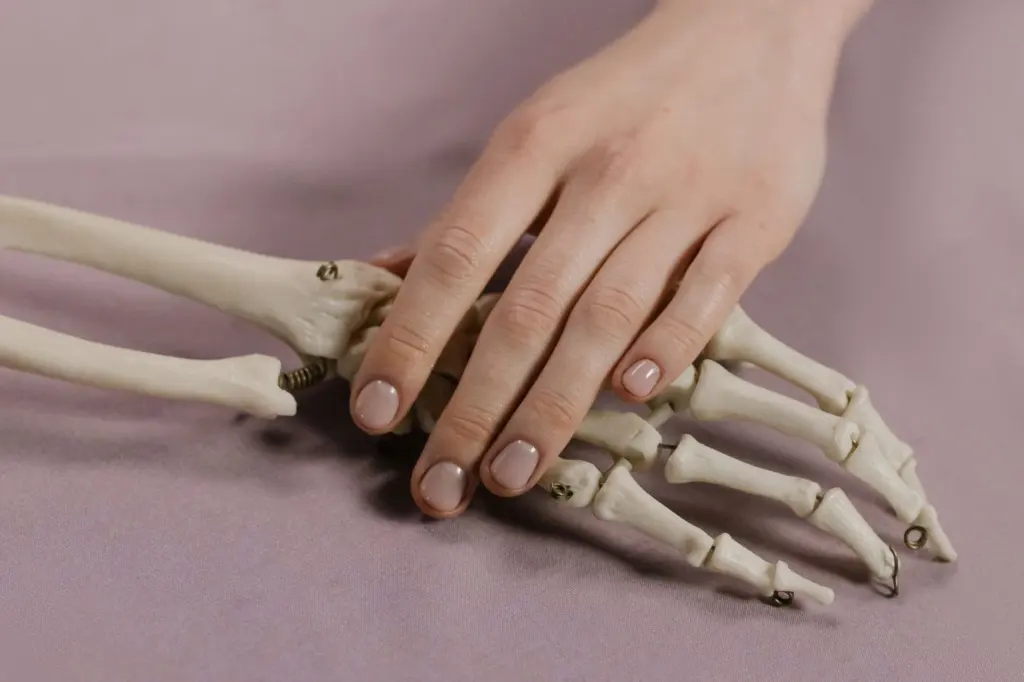
The same Sketchfab listing also shows a hand sculpt alongside the bones. That pairing is worth using deliberately. Look at the bones first, then at the sculpt, and notice how the skeleton determines the outer shape of the hand.
Problem: tendons disappear into the palm
Tendons are the structures most often missing from simple hand models, and they are the ones that explain how the fingers bend. MSD Manuals hosts a dedicated 3D model of the flexor tendon sheaths of the fingers in its consumer version. This shows that tendons can be studied as their own object rather than only as a faint layer on top of bone.
Use a stand-alone tendon view after the bones, not before. With the phalanges already familiar, the route of each flexor tendon along a finger has something to attach to. Flexor tendons are the ones that flex the fingers, so follow each one from the palm side toward the fingertip and note how it is enclosed by its sheath.
Anyone searching for a 3d hand tendons model should look for three qualities in a viewer:
- A separate tendon object. A model where tendons can be isolated from bone is more useful for study than one where they are painted onto the surface.
- Sheath detail. The sheath is part of the structure, so a view that includes it gives a fuller picture than bare cords.
- A clear label for each finger. Without labels, the tendons of neighbouring fingers are easy to confuse.
Problem: nerves and muscles are hard to find
Tendons and nerves can be viewed separately only when a model is built with separate layers. A tendon-sheath model such as the MSD Manuals one is a dedicated tendon view. For nerves and muscles, the answer depends on the individual model, so check whether the viewer lists them as distinct, toggleable parts before relying on it.
If a model offers only a single merged soft-tissue surface, treat it as an overview. It can show where muscle and nerve lie in relation to bone, but it will not let you trace one nerve on its own. For tracing, choose a model that lets structures be hidden and shown one at a time, and compare it with a textbook plate to confirm names.
Problem: finding an interactive viewer
Interactive hand anatomy is available in the browser. Sketchfab hosts a turntable view of the hand bones, so the model can be rotated and inspected from any angle without installing software. A posable hand model is also offered with a real-time view on Sketchfab, according to its DeviantArt listing.
For a hand anatomy 3d interactive session, the amount of geometry in a model is a practical decision. A mesh of that density is built for close inspection of small bones such as the carpals. If a model of that weight loads slowly on your device, a lighter model is the better choice for quick revision. Keep the dense one for moments when you need to examine fine surface detail.
Choosing a model for the problem
The table below turns the points above into a quick diagnostic. Match the difficulty you are having to the model type, then run the check before committing study time.
| Problem | Model type to look for | Check before committing |
|---|---|---|
| Cannot tell finger bones apart | Bone model colour-coded by type | Distal, middle and proximal phalanges and metacarpals each have their own colour |
| Cannot tell wrist bones apart | Bone model with each carpal distinguishable | Carpal colours are only for separation, so rely on shape and position |
| Cannot follow finger bending | Dedicated flexor tendon sheath model | Tendons are visible as their own structure with sheaths included |
| Need to inspect fine surface detail | High-density bone mesh such as 415.2k triangles | The device loads it smoothly; otherwise use a lighter model |
The colour coding and mesh figures come from the Sketchfab bones-of-the-hand model, and the tendon view from the MSD Manuals flexor tendon sheath model.
Problem: using a hand model for animation
A hand model can be used for animation when it is built to be posed. A static bone model cannot be moved joint by joint, but a posable hand can. The DeviantArt listing for a posable 3D hand is tagged for Blender, rig, rigged and rigging, which marks it as an asset made for that purpose, and it can be previewed in real time on Sketchfab before use.
Rigging is the process of building controls so that a 3D model can be posed. It is the step that separates a study model from an animation model. A model for animation also needs 3D modeling choices that a study model can ignore, such as how the surface will deform around the joints. The pairing of bones with a hand sculpt in the Sketchfab listing shows the underlying logic: the skeleton drives the outer form, so understanding the bones first leads to more believable poses.
The heavy bone mesh and the rigged hand serve different jobs, so decide which job you have:
- Study. Choose the dense, colour-coded bone model and a tendon sheath view.
- Animation. Choose a model marked as rigged, and open its real-time preview first.
- Both. Learn the structures on the study models, then apply that knowledge to a rigged hand so the poses respect the underlying anatomy.
Posing and reference
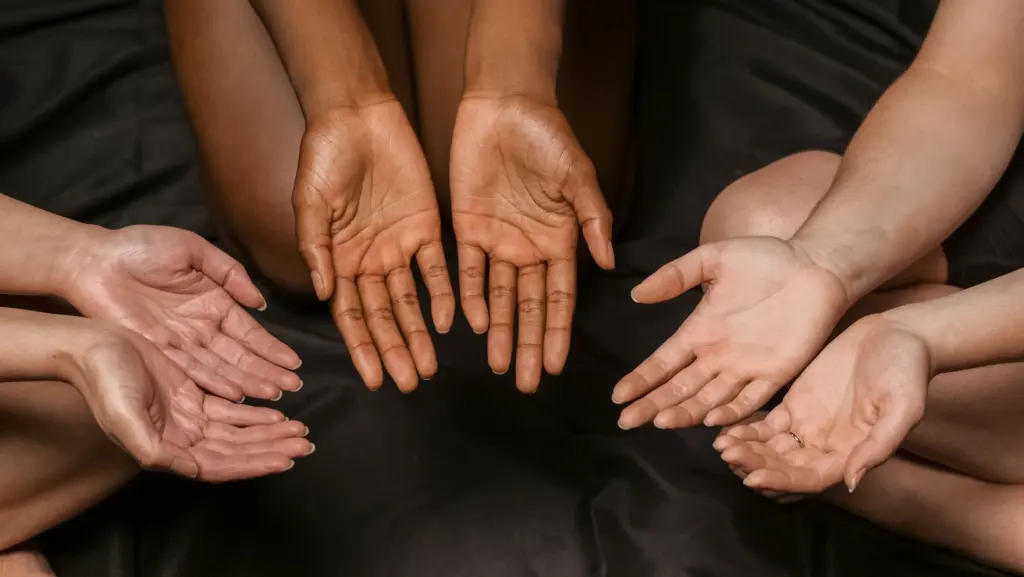
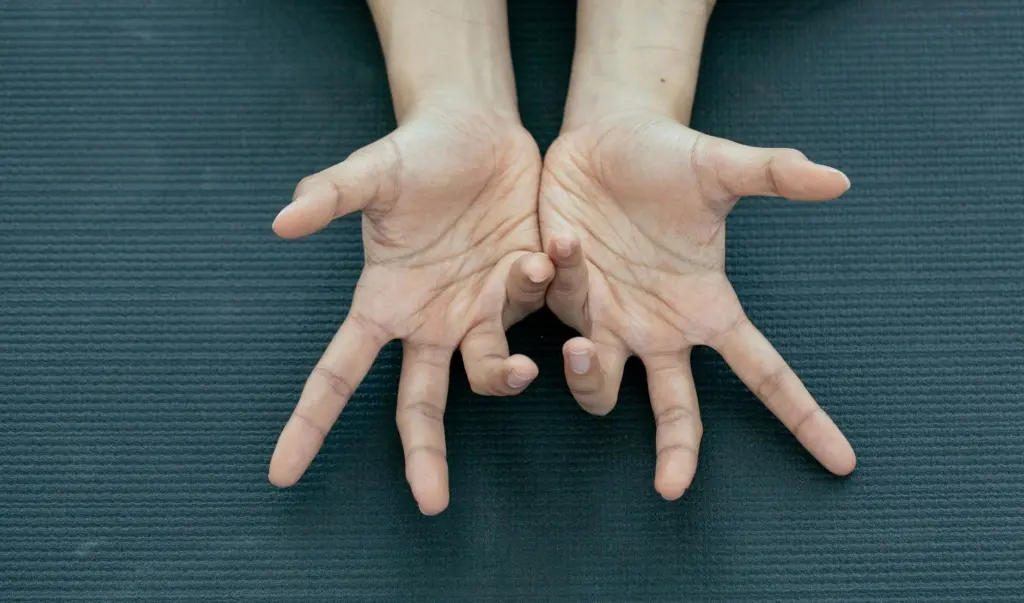
Reference photographs of real hands are the practical companion to any rigged model. Before posing, compare the model with a photograph of the same gesture and look at where the fingers curl and where they stay straight. Photographs show the outer silhouette, so combine them with a bone model to understand what lies beneath.
Start with open and relaxed positions before attempting a clenched or tightly curled hand. Simple poses expose problems in the rig quickly, such as fingers that bend at the wrong place, and they are easier to correct than problems found in a complex gesture.
Troubleshooting common snags
- Names do not match between sources. Different models label the same structure in different ways, so confirm each name against an anatomy textbook plate rather than trusting one viewer.
- Everything looks the same colour. Switch to a coded model, or hide layers one at a time if the viewer allows it.
- The model will not move. A bone model is a static object. Look for a listing described as rigged if you need poses.
- The surface looks wrong over the skeleton. Return to the bones-with-sculpt comparison and check how the underlying form shapes the outside.
Carrying the method to other regions
The same order works elsewhere in the body: structure first, soft tissue second, movement last. Readers who want to apply it can continue with 3d heart anatomy or 3d spine anatomy, each covered in its own guide. The links here are 3d heart anatomy and 3d spine anatomy.
Frequently asked questions
| Question | Answer |
|---|---|
| What structures does a 3D hand anatomy model include? | It depends on the model. A bone model shows phalanges, metacarpals and carpal bones, sometimes with the ulna and radius, while other models add tendon sheaths or soft tissue. |
| Can tendons and nerves be viewed separately? | Tendons can, as with the stand-alone flexor tendon sheath model from MSD Manuals. Nerves depend on whether a model offers them as a separate layer. |
| Is there an interactive viewer for hand anatomy? | Yes. Sketchfab hosts turntable and real-time views of hand models that can be rotated in a browser. |
| Can a hand model be used for animation? | Yes, if it is built for posing. Look for a listing tagged as rigged, such as the posable hand tagged for Blender and rigging. |
| Are carpal bone colours standard? | No. In the Sketchfab bones model they are assigned randomly to tell the bones apart, so they carry no fixed meaning. |