| Symptom | First action | Planning use |
|---|---|---|
| Textbook figures look flat or confusing | Drag the model with one finger to turn or tilt it until it matches the textbook view | Start each session here to build the spatial picture before memorising names |
| You recognise a name only while its label is visible | Hide or fade the structure, name it aloud, then reveal it | Turns a viewing session into a self-test |
| A deep structure is blocked by the ones above it | Fade the overlying structures and highlight the target by tapping its name | Study one layer at a time instead of the whole region |
| You cannot tell what you actually know | Use the app’s quizzes and notecards | Close a session with a recall check |
| The model and the textbook seem to disagree | Compare the same structure in both and note the difference in your own words | Resolve the mismatch before the exam, not during it |
The rotation, hide and fade, and quiz steps follow the Visible Body touch-controls help page, and the point about labelled models comes from a randomised trial of a 3D sacrum model.
How to study anatomy with 3D models comes down to a repeating loop: rotate a structure, hide its label and name it from memory, then verify the answer against a textbook.
Pick a 3D human anatomy model that lets you rotate, hide and label structures, then follow the routine below. Readers who want the same models for movement rather than recall can look at 3d human anatomy for animation.
What you need before the first session
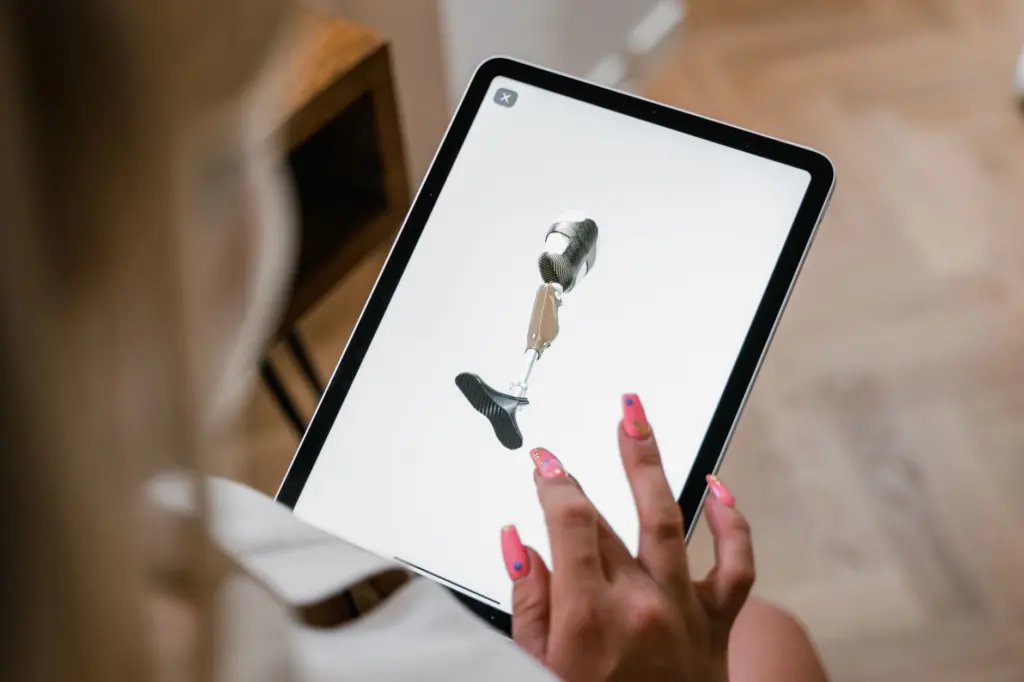
You need a model you can move, a textbook open to the same region, and a way to write down what you miss. A 3D anatomy model, in the sense used in education research, is a digital or physical model that can be moved into different positions and planes, according to the sacrum trial authors. A tablet app, a laptop viewer or a physical model all qualify, provided you can turn it freely.
Choose features before you choose a region:
- Rotation and zoom. Without free rotation the model is just another picture.
- Hide or fade controls. These make self-testing possible, so a viewer with labels permanently on is a weak study tool.
- Built-in quizzes or notecards. Visible Body’s help lists quizzes, notecards and progress tracking as course sections, which saves you building a question bank by hand.
If a model will not open on your device, the explanation of 3d anatomy model file formats is the place to check what the file type means. Once the model opens, begin with one body system per session. The human skeleton is a sensible first choice because bones give fixed landmarks, and the muscular system is easier to place once those landmarks are familiar.
Rotate and isolate structures
Rotation is the step where 3D earns its place. On a touch device, dragging one finger turns or tilts the model, as the Visible Body help page describes. Turn the structure until it matches the textbook figure, then keep turning to see the views the figure does not show.
Symptom: you cannot see where a structure sits
Use the structure-name buttons. Tapping each name one by one highlights that structure in blue in the model, which shows its position relative to its neighbours. Do this for a bone, then for the muscles that attach near it.
Symptom: the region is crowded
Complex regions are where interactive tools are reported to help most. A faculty interview at Middle East Health names the perineum, head and neck as areas where such tools are particularly effective. The same interview says VR lets students explore structures layer by layer and label them. On a flat screen, fading or hiding the outer layers gives a similar effect.
Turn the model into a quiz
The quickest way to make a quiz is to remove the answer. In the Visible Body app you tap a structure and then choose Hide or Fade on screen. A hidden structure leaves a gap you have to fill from memory, and a faded one leaves a ghost outline that tests whether you can place it from its surroundings.
The sacrum trial authors note that 3D models can be labelled to make them more interactive and to present anatomical facts. The same flexibility works in reverse for an anatomy quiz: take the labels off and supply them yourself. A workable self-test sequence looks like this:

- Name before reveal. Say the structure’s name aloud before turning the label back on.
- Change the angle. Rotate to a view you did not study in, then name the same structure again. Recognition from one angle can hide gaps.
- Record misses. Write each miss on a notecard, or use the app’s notecard feature, and retest those first next time.
- Use the built-in quizzes last. They check recall after your own hide-and-name practice, rather than replacing it.
Printed flashcards work too if your viewer has no quiz mode. Write the structure name on one side and the region on the other, then locate each structure on the model from the name alone.
Cross-check against the textbook
Treat the textbook as the reference and the model as the way you test your picture of it. After each self-test, open the textbook figure for the same region and compare names, relationships and terminology. Any mismatch goes on your miss list.
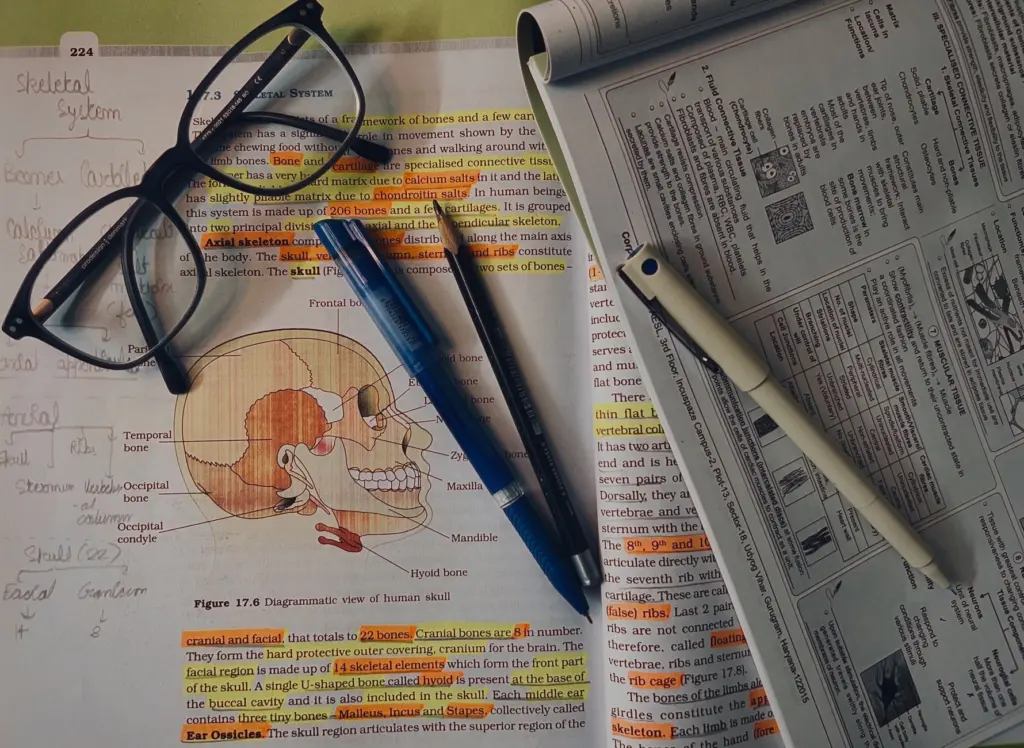
This pairing matches how one medical school describes its own teaching. At Weill Cornell Medicine-Qatar, the Anatomage table arrived in 2017 and VR followed two years later, and faculty say digital tools and traditional methods complement each other.
Can 3D models replace labelled diagrams for exams?
Not on the evidence available. The faculty view is that the tools complement traditional methods, and the research below does not test models against exam diagrams. If your exam presents labelled diagrams, keep practising with them alongside the model, so the format on the day is familiar.
What the research shows about 3D versus 2D
The best-documented comparison is a randomised trial on the sacrum. It enrolled 200 first-year medical students split into two groups of 100. One group used a virtual interactive 3D model and the other used 2D images, each in a 30-minute self-directed session followed by a post-test quiz.
The 3D group’s mean post-test minus pre-test difference was 4.1±1.6 points, against 2.5±1.2 points for the 2D group. The authors concluded that a virtual interactive 3D model is an effective tool to conceptualise sacrum anatomy.
Read this result with its limits. It compared 3D with 2D images, not 3D with a full textbook. It tested a single bone region and a single session. The authors also note that previous studies report contradictory results on how 3D models affect students’ anatomical knowledge. A fair reading is that 3D rotation can help with spatial understanding, and that it is not a guaranteed score booster on its own. That is why the routine below pairs rotation with self-testing and textbook checks.
A weekly study routine
This routine is a suggested structure that sequences the features documented above. It is not a protocol that any trial tested as a whole. The trial’s 30-minute session is an example of a self-directed block, not a target length.
- Early in the week: explore with labels on. Rotate the chosen region, tap the structure-name buttons one by one and read the matching textbook pages.
- Midweek: hide and name. Hide or fade structures, name them from several angles and log every miss on a notecard.
- Later in the week: cross-check. Compare the model with textbook figures, resolve each mismatch and retest the misses from the earlier session.
- End of the week: quiz and track. Take the app’s quiz, review your progress and carry weak structures into the next week’s first session.
Move to the next region only when you can name hidden structures from rotated views and your textbook comparison produces no new misses. If misses persist after a repeat of the cycle, go back to the labelled-exploration step rather than adding more quizzes.
Reviewing with a study group
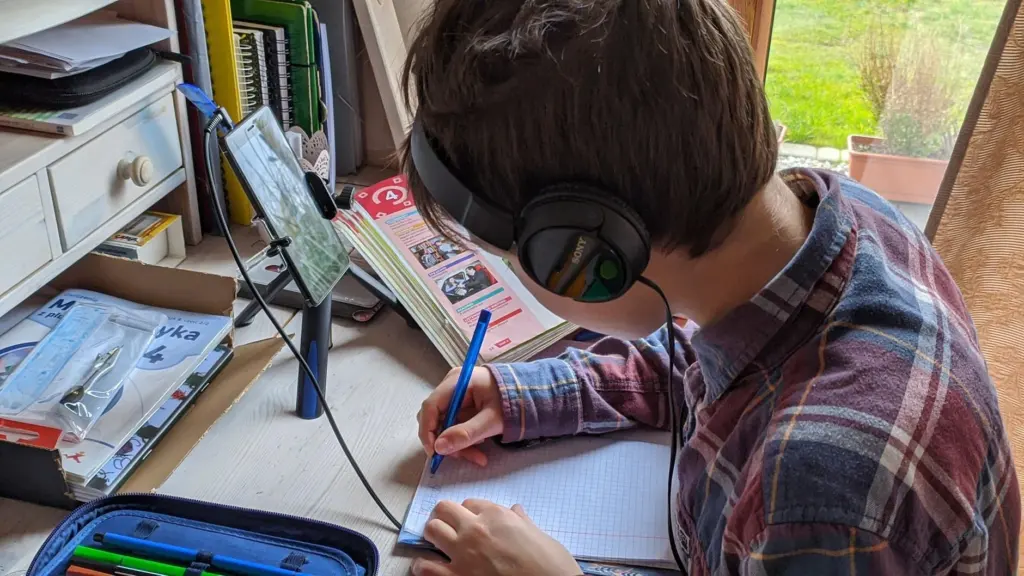
A shared screen turns the hide-and-name step into a group exercise. One person hides a structure and the others name it before it is revealed. Disagreements go to the textbook, which keeps the group honest about terminology.
Keep group sessions for review rather than first exposure. Learning a region alone first means you arrive with answers to test, and the group then reveals gaps rather than just showing the model.
Common mistakes and when to change approach
- Leaving labels on throughout. Symptom: sessions feel productive but recall is weak. Fix: hide the labels for at least the second half of every session.
- Studying from one angle only. Symptom: you name a structure in the default view and fail in another. Fix: rotate before every reveal.
- Skipping the textbook. Symptom: you learn the model’s labels but not the terms your course uses. Fix: run the cross-check after each self-test.
- Trying every region at once. Symptom: the miss list grows faster than you clear it. Fix: finish one system, such as the skeleton, before starting the muscular system.
- Treating 3D as a replacement for exam practice. Symptom: strong in the app, weak on paper. Fix: practise on labelled diagrams in the exam’s format.
Frequently asked questions
| Question | Answer |
|---|---|
| Is 3D anatomy better than textbook learning? | Neither wins outright. In the sacrum trial the 3D group gained more than the 2D-image group, but that trial did not test a textbook, and earlier studies are contradictory. Using both is the safer plan. |
| How can I turn a 3D model into a quiz without a quiz feature? | Hide or fade structures, name them aloud, then reveal them and record misses on handwritten flashcards. Any viewer with hide controls supports this. |
| Which regions suit 3D models most? | Faculty at one medical school name the perineum, head and neck as areas where interactive tools are particularly effective. Crowded, layered regions benefit most from rotation and fading. |
| How long should one session last? | The trial used a 30-minute self-directed session before its post-test. Treat that as an example block rather than a recommended target, and end when your miss list stops shrinking. |