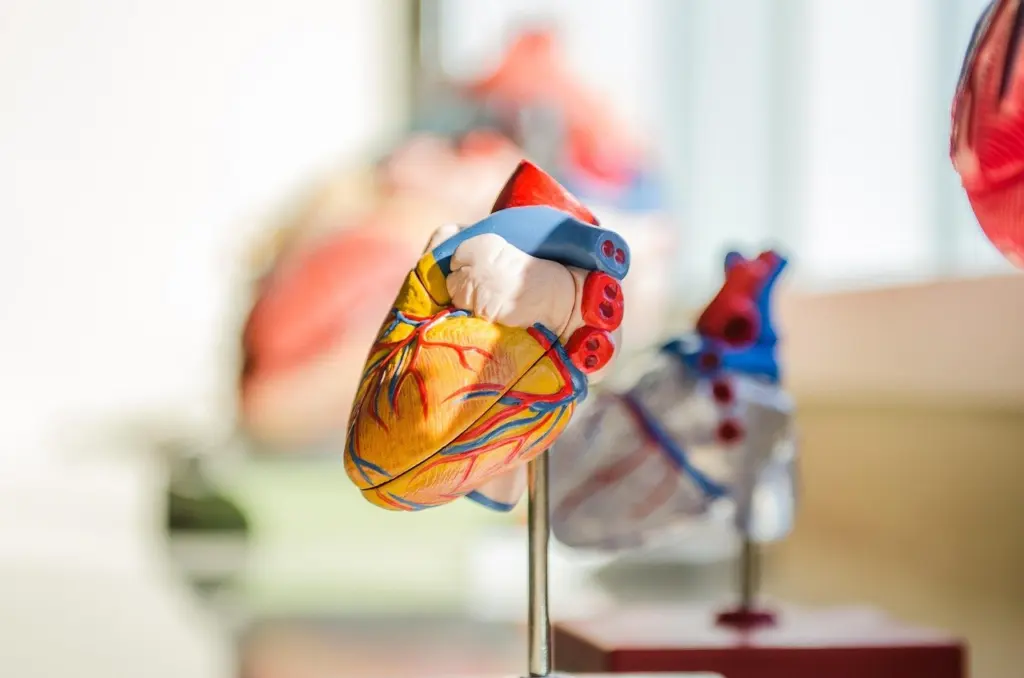
A student opening 3d heart anatomy for the first time needs a model that names the chambers, valves and vessels, not just a smooth red shape.
Quick answer:
- Check the structures. A useful model separates the four chambers (two atria and two ventricles) and shows valves, associated vessels, coronary arteries and the conduction system.
- Check the interaction. You should be able to rotate and zoom, tap labels for descriptions, and switch to cross-section views.
- Check where it came from. Models built from real patient imaging, such as the NIH 3D Heart Library, carry a clear provenance.
These checks apply to any 3D human anatomy model. The 3d human organs model guide shows how other organs compare.
Structures a 3D heart model should show
Detailed heart models show the chambers, valves, associated vessels and the conduction system that regulates the heart’s rhythm, according to Voka’s 3D heart module. Each structure below is a test of whether a model is good enough for study.
Atria and ventricles
The heart has four chambers: two atria and two ventricles. A model should let you identify all four separately. A shell that shows only the outer surface cannot teach chamber names, so look for a cutaway or a four-chamber view. Sciepro’s heart model lists anterior cuts, transverse slices and detailed four-chamber views among its sections.
Heart valves
Valves between the chambers ensure unidirectional blood flow, so they are the structures that make the chambers work as a pump. The best models show them in place between the chambers, not as floating decoration. Sciepro describes detail running from the trabeculae carneae to the chordae tendineae and the valves. Students who only need the main layout can start without that level of detail. Anyone studying valve structure should look for a model that goes down to the chordae tendineae.
Aorta and associated vessels
A heart model is meant to show its associated vessels as well as its chambers and valves, because they are crucial for understanding cardiovascular physiology. The aorta belongs in that group. Check that the model keeps the aorta and the other vessels attached and labeled, instead of trimming the heart down to a bare lump of muscle.
Coronary arteries
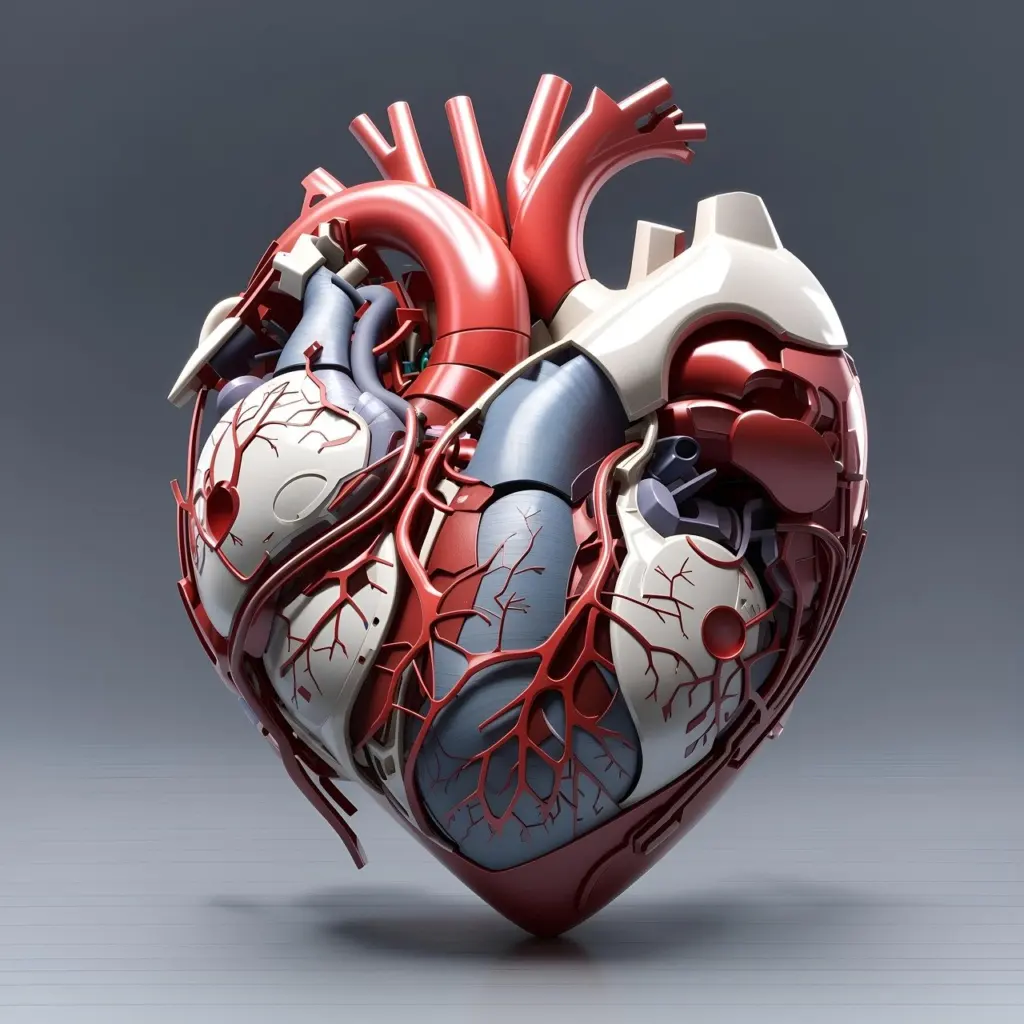
The coronary arteries supply the heart muscle with oxygen-rich blood. They run across the outside of the heart, so a model that shows only the interior will miss them. A surface view with the arteries visible is the quickest check. Some viewers go further. XR Anatomy’s heart viewer offers premade views of the coronary vessels.
Conduction system
The conduction system regulates the heart’s rhythm. It is the structure most often left out of basic models, so it separates a detailed heart model from a simple one. If your course covers heart rhythm, choose a model that includes it.
Spotting and fixing gaps in a model
Most disappointing heart models fail in one of a few predictable ways. The table matches each problem to what a better model would show.
| Problem you notice | What a better model shows | Planning use |
|---|---|---|
| You cannot tell the upper chambers from the lower | Two atria and two ventricles, each identifiable, plus a four-chamber view | Choose this first if you are a beginner |
| Valves look like flat decoration | Valves between the chambers, with chordae tendineae and trabeculae carneae detail | Needed when you study blood flow direction |
| The heart seems to float without context | Associated vessels attached, including the aorta | Needed for cardiovascular physiology |
| The surface looks blank | Coronary arteries visible on the heart muscle | Needed for vascular supply |
| Rhythm is missing from the picture | The conduction system that regulates rhythm | Needed for rhythm topics |
The structure list draws on Voka’s heart anatomy module and the section descriptions in Sciepro’s heart model.
Reading labels on chambers and valves
Labels turn a 3D shape into something you can learn from. In XR Anatomy’s viewer, you tap any label for a detailed description and voiceover. That makes the label a prompt for self-testing as well as a name tag.
A label that only names a structure is half useful. Prefer a model whose labels explain what the structure does, and check that chambers, valves and vessels are all labeled. Hear or read the name, find the structure on the model, then read the description to confirm. Labels placed on both chambers and valves help most, because those are the structures students most often confuse.
Rotating and sectioning in a viewer
Yes, you can rotate a 3D heart in a viewer. XR Anatomy’s controls are a swipe to rotate, a pinch to zoom and a double tap to reset, so a lost orientation is always one gesture from recovery.
Sectioning works through premade views. XR Anatomy lets you switch between premade views for every figure, including coronary vessels and cross-sections. Sciepro’s heart model includes anterior cuts, transverse slices and four-chamber views. For study, check which sections a viewer provides before relying on it. The four-chamber view matters most for learning chambers and valves together. Do not assume you can cut a model at any angle you like.
How heart models are made from scan data
Some of the most reliable heart models start with real imaging. The NIH 3D Heart Library describes its highly accurate 3D representations of hearts as created directly from patient MRI data. The NIH describes those models as built from MRI, not CT.
A CT scan is another imaging source of the same kind. When a model description names its scan type, it tells you the geometry came from a real patient and not from an artist’s interpretation. That is useful if you want realistic shapes, though a stylized model can still be the better teaching tool for a first pass through the structures.
Studying with a heart model
A student with a laptop and a good heart viewer can cover the whole organ in a structured way, one structure at a time.

- Start with the chambers. Find the two atria and the two ventricles and say their names aloud.
- Add the valves. Locate each valve between the chambers it separates and connect it to one-way flow.
- Trace the vessels. Follow the associated vessels, including the aorta, then the coronary arteries on the surface.
- Finish with the conduction system. Relate it to the heart’s rhythm.
- Test yourself. Reset the view with a double tap and name structures before tapping their labels.
When the heart feels familiar, apply the same structure-by-structure approach to another region. The model of 3d hand anatomy is a natural next step.

Frequently asked questions
| Question | Answer |
|---|---|
| Which 3D software works with detailed heart models? | Sciepro states that its heart model integrates with 3ds Max, Maya, C4D, Blender and Unity, so those programs suit anyone building or adapting scenes around it. |
| Is there an interactive model of the conduction system? | Yes. The MSD Manual Consumer Version publishes a 3D model of the cardiac conduction system. |
| Why do heart models include vessels as well as chambers? | The associated vessels are crucial for understanding cardiovascular physiology, so a chambers-only model leaves out part of the picture. |